

Available Tutorials:

Tutorial 1: Installation Process
This tutorial describes how to install the Invoice Creator under the Windows Operating System; however, it is possible to install this program on other operating systems. This requires you to have a Java Virtual Machine available.
First, please check the Invoice creator’s Website and download the latest version. An overview of available files can be found on this page. Now click on the first file name entry in the table. For other operating systems you can download and unzip the zip file.

By clicking the link, the selected file will be downloaded. Depending on which browser is being used (Internet Explorer, Firefox, Chrome, etc.), you will be asked, in different ways, in which directory the file shall be saved to. Sometimes the directory is already preset and the download starts immediately without confirmation.
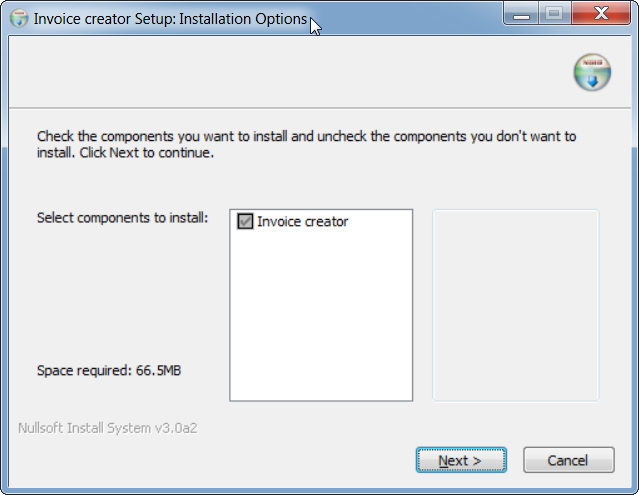
After the file is saved on the local hard drive, you can initiate the installation process. To do so, run the downloaded file (double click on the file). In the first screen you will need to determine which components should be installed.
In the next screen, specify the installation path. By default, a directory will be offered in which all other programs are commonly installed. This path can be left alone.
Note: If an error should occur during this step, try to use another directory.

After pressing the “Install” button, Invoice Creator will be installed.

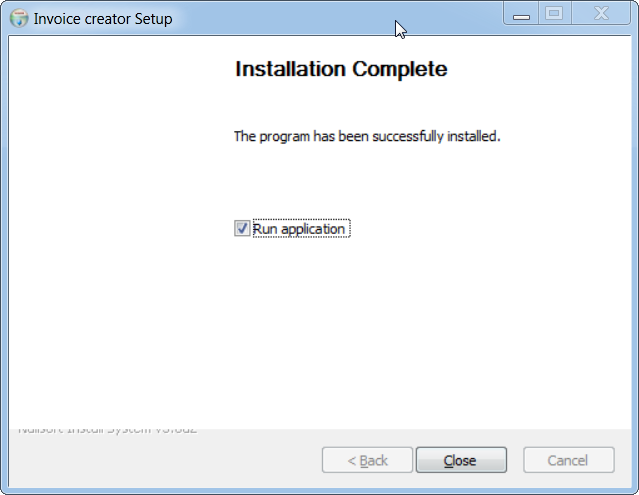
You can start the Invoice creator directly from the setup window.
Note 1: In addition to the described installation options, there is a portable version for the Windows platform available. For example, it can be used when the installation has failed. To start the portable version, you must download the ZIP file, extract it to a directory and run the file rechnungsverwalter_en.exe
Note 2: For all other platforms (Linux, Mac, etc.) there is a corresponding portable version. To start it, you must download the ZIP file, extract it to a directory and run the file start_rv.bat.